Crafting Your Own Minecraft Bedrock Server: A 2024 Server Setup Guide
— 7 min read — #Gaming, #Minecraft, #DigitalOcean, #Server Setup
Playing Minecraft is fun. Playing Minecraft with your friends is even better. But what if you are playing on your friend's world in Minecraft Bedrock Edition and suddenly your friend goes offline? You'll get disconnected instantly from their world.
Well, you can avoid this by setting up your own Minecraft Bedrock server. This way, you and your friends can connect to your server and play Minecraft together without any issues. I just did this today and it was pretty easy but a bit confusing at first. That's why I'm writing this guide to help you out. In this guide, I'll show you how to set up a Minecraft Bedrock server on DigitalOcean.
Prerequisites
Before we start, you need to have the following prerequisites:
- A DigitalOcean account
- A Droplet - Ubuntu 22.04 (LTS) server
- A domain name (optional)
If you don't have a domain name, you can use the droplet IP address to connect to the server.
DigitalOcean Droplet Setup
I will be using a Digital Ocean Student's plan which includes $200 in credit over 12 months. But if you do not have that or no longer a student, you can use the following link to get your own free $200 credit for 2 months.
After you have created an account, you can create a new Droplet. But at first, create a new project. I will name it "Minecraft Bedrock".

After that we have to select region I selected "Bangalore, India" because it's closest to me. It's recommended to select a region that's closest to you to avoid any network issues.
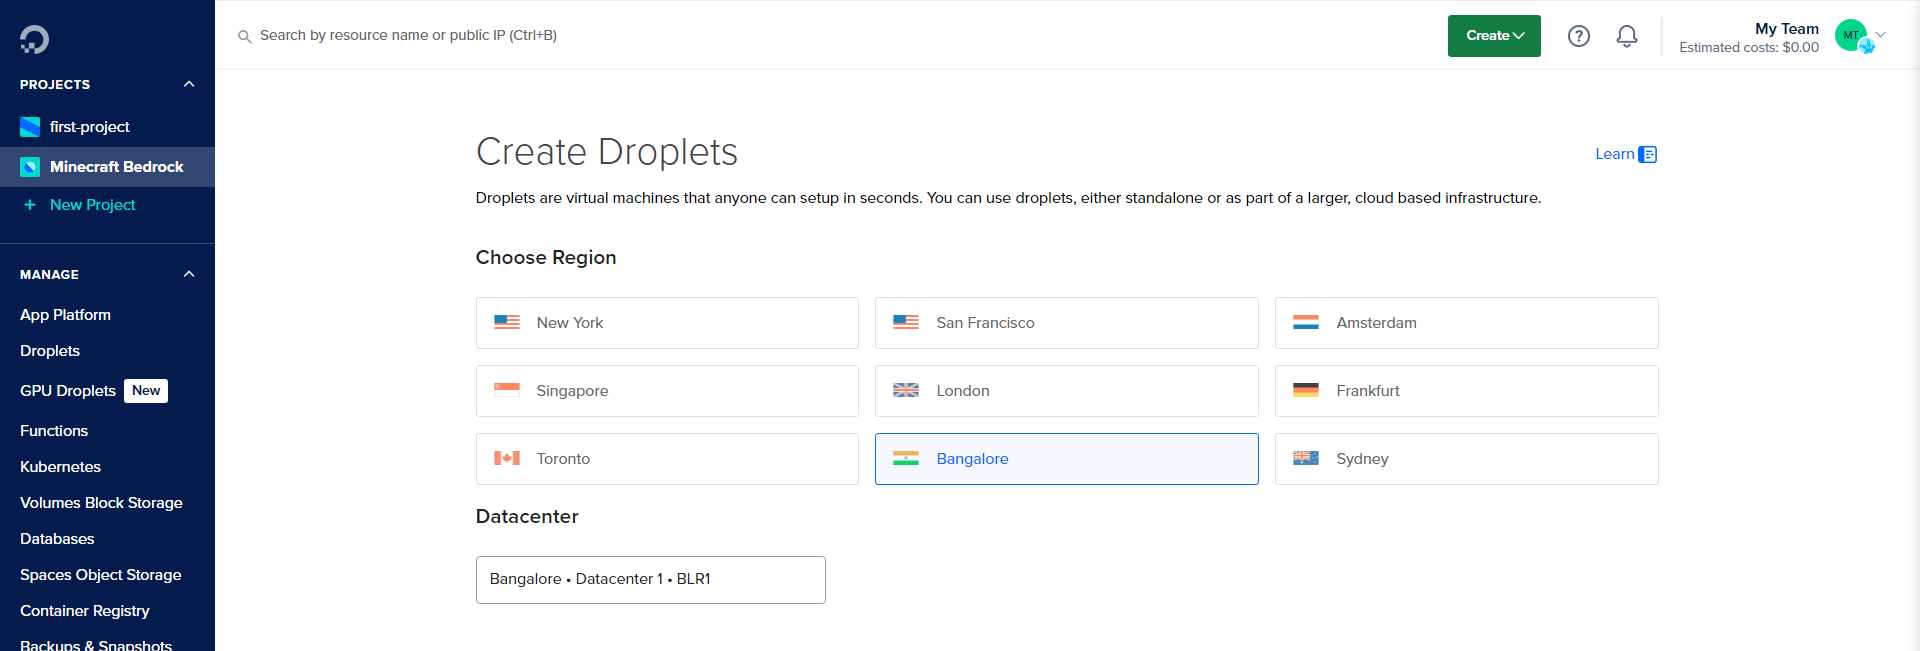
Now we have to select the Droplet image. We want to select Ubuntu 22.04 (LTS). There's also a Minecraft image in Marketplace, but that is for Minecraft Java Edition. We planned to play Minecraft Bedrock Edition, so we have to select Ubuntu 22.04 (LTS).
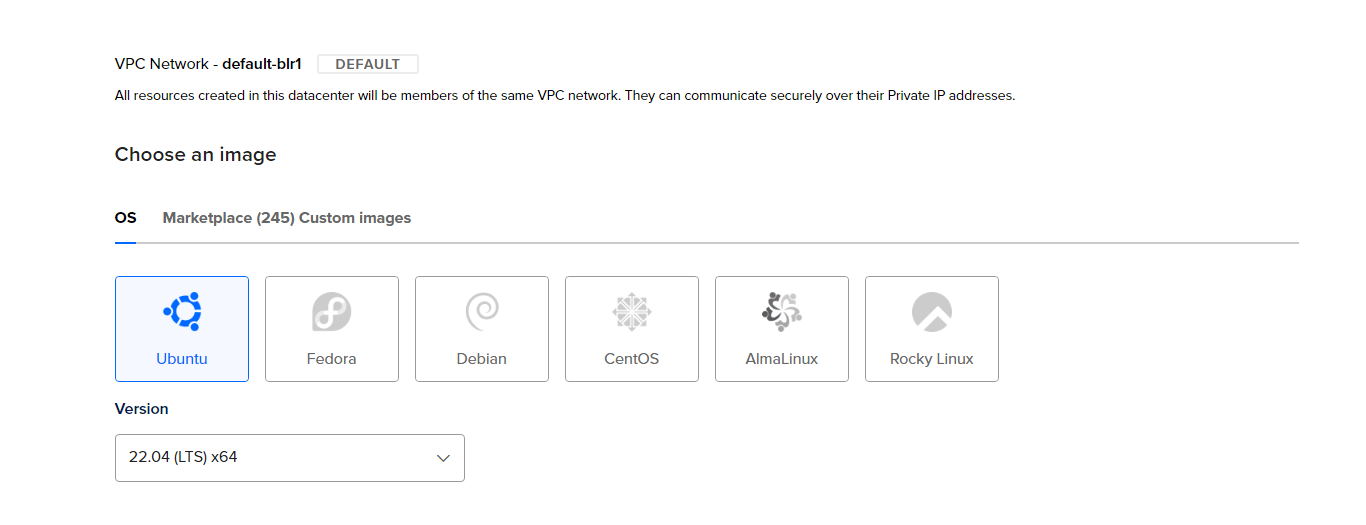
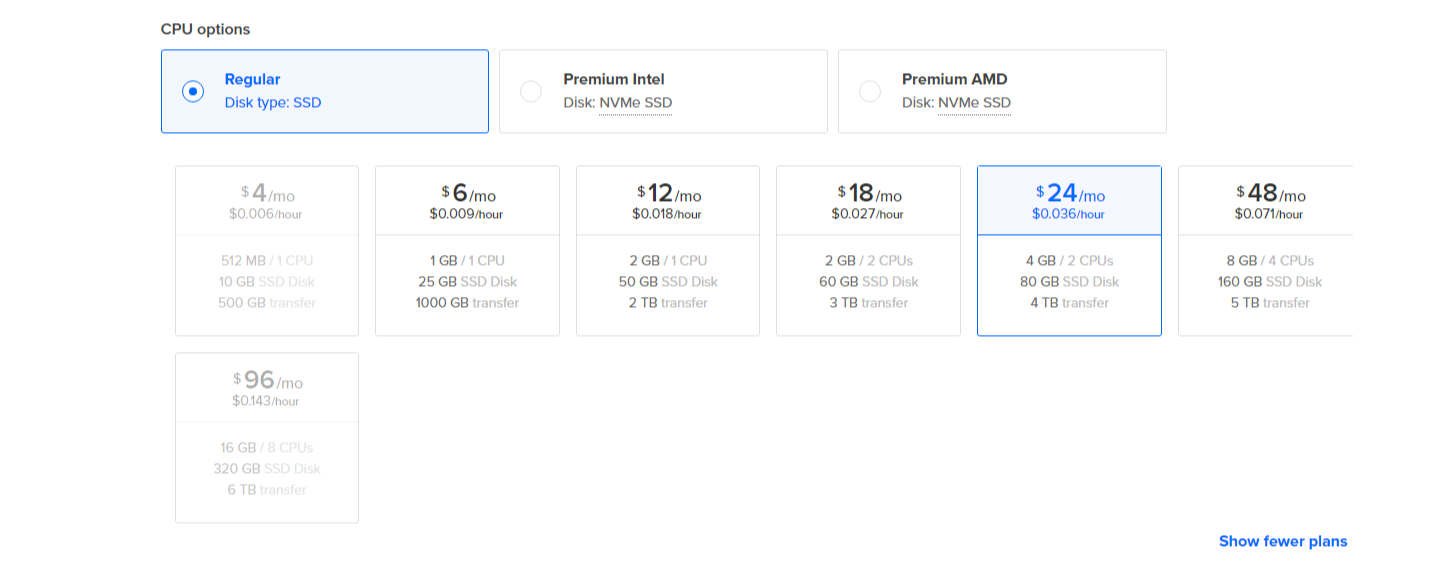
After that we have to select the size of the Droplet. I have selected Basic / 4 GB / 2 vCPUs. You can select more resources if you want to. But for a Minecraft Bedrock server, 2 GB of RAM is enough.
After that we have to select the authentication method. You can use either SSH keys or password. SSH keys are recommended because they are more secure. If you don't have any SSH keys, you can create a new one. In case if you do not know how to use it, you can use password.
Then we will add the hostname. You can use any name you want.
Setting up the server
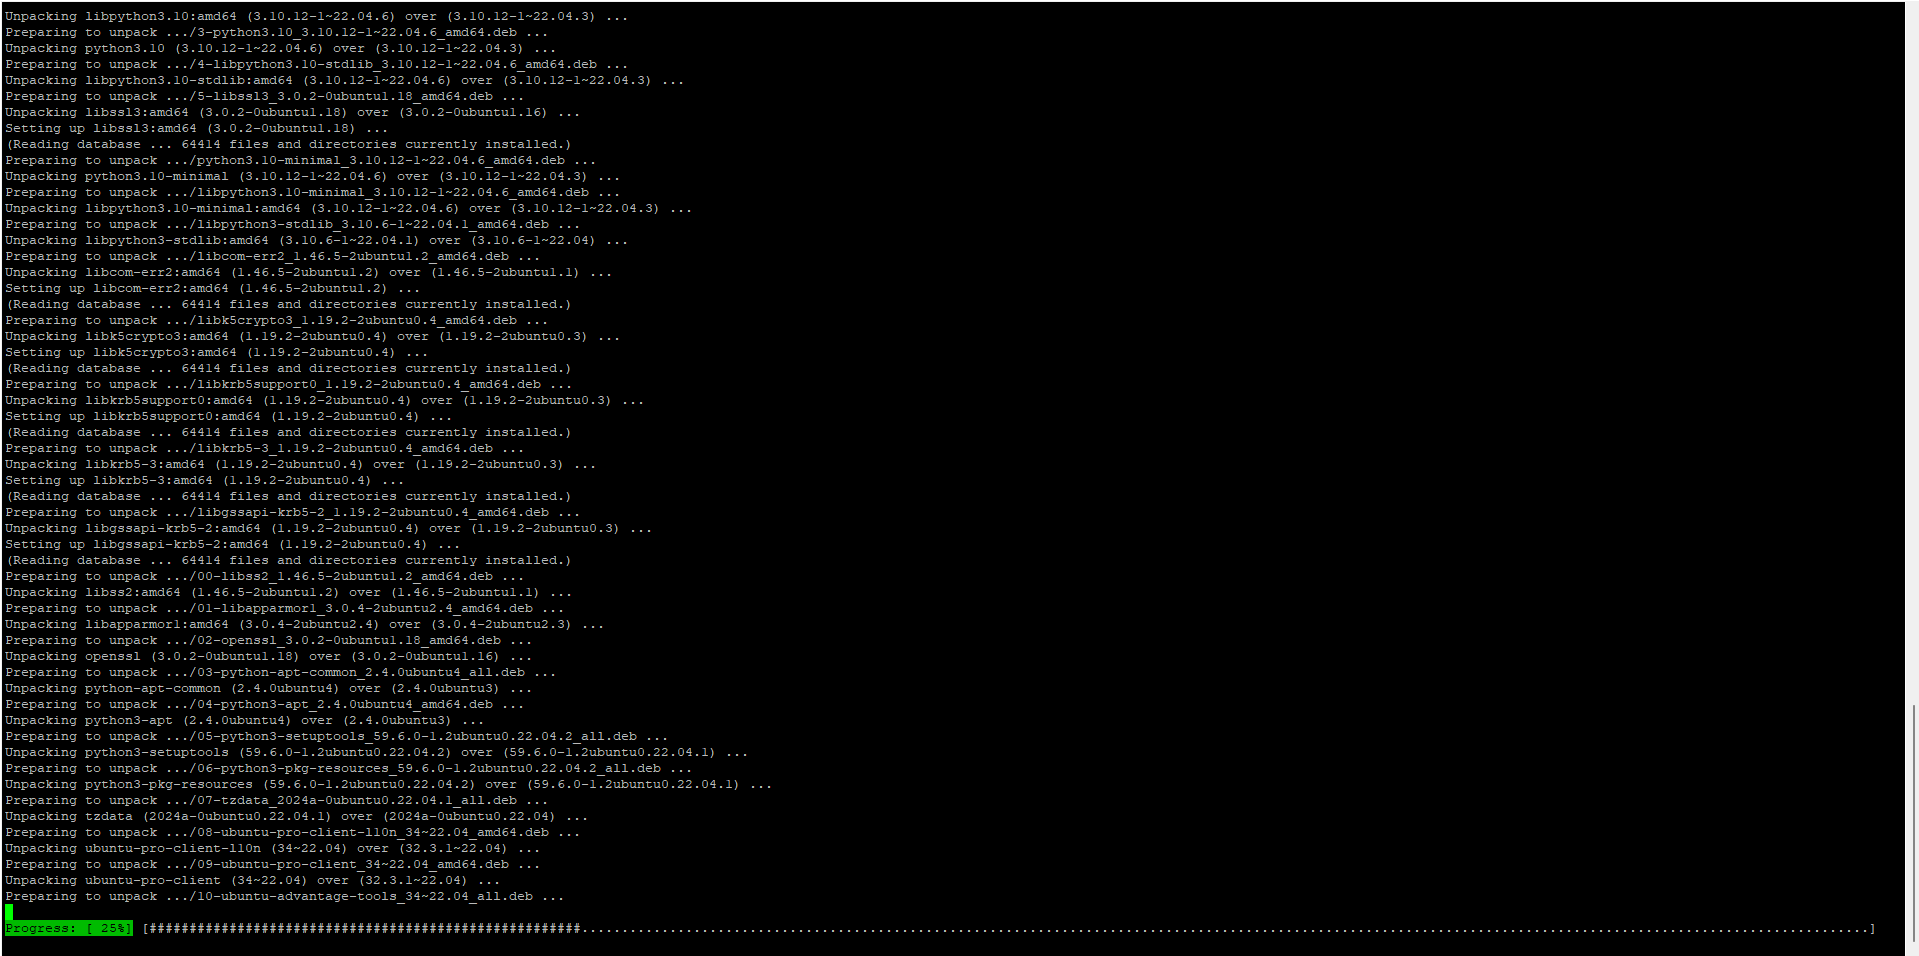
Now we have to setup the server. We will login to the server using SSH with root. But at first, update the server after you login with apt update && apt upgrade. It is necessary to update the server so that it has the latest security patches and bug fixes.
Now we have to install unzip package so that we can unzip the Minecraft Bedrock server file which we will download later.
apt install unzipFor security reasons, it is recommended to use a new user instead of root. So we will create a new user with adduser command. I will name my user minecraft-admin.
adduser minecraft-admin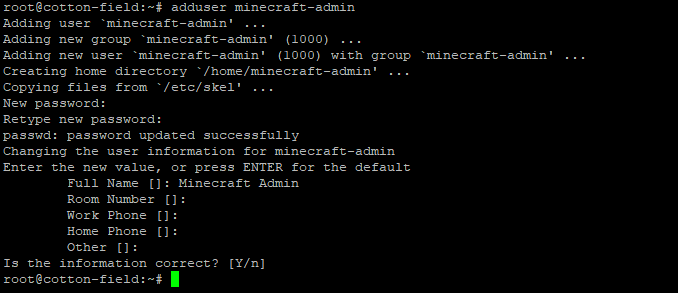
Installing the Minecraft Bedrock server
After using the minecraft-admin user, we have to install the Minecraft Bedrock server. We will download the server from the official Minecraft website. You can download the server from here. Click on the checkbox "I agree to the Minecraft End User License Agreement and Privacy Policy" and then right click on the "Download" button and copy the link.
We will download the server in /home/minecraft-admin/minecraft-bedrock. So we have to change the directory to /home/minecraft-admin/minecraft-bedrock and then download the server.
mkdir /home/minecraft-admin/minecraft-bedrock
cd /home/minecraft-admin/minecraft-bedrock
wget [copied-link]
After downloading the server, we have to unzip the file. Delete the zip file after unzipping.
unzip bedrock-server-1.21.31.04.zip
rm bedrock-server-1.21.31.04.zip
Configuring the server
Now we have to configure the server. We will use the nano command to edit the server.properties file.
nano server.propertiesEdit the server properties as per your requirements. Visit Minecraft Bedrock Wiki to learn more about the properties.
Once you are done, save the file and exit. Then run the following command.
LD_LIBRARY_PATH=. ./bedrock_serverAnd now the server will start running. But we have to run the server in the background. So that, if we get out from the SSH, the server will keep running.
touch /etc/systemd/system/bedrock.service
nano /etc/systemd/system/bedrock.service
Add the following content to the file.
[Unit]
Description=Minecraft Bedrock Server
After=network.target

[Service]
User=minecraft-admin
Group=minecraft-admin

Type=simple

WorkingDirectory=/home/minecraft-admin/minecraft-bedrock
ExecStart=/home/minecraft-admin/minecraft-bedrock/bedrock_server
Restart=on-failure

[Install]
WantedBy=multi-user.target
Now we have to enable the server to start on boot.
systemctl enable bedrock.serviceThen we have to start the server.
systemctl start bedrock.serviceCheck the status of the server with the following command.
systemctl status bedrock.serviceIf you see active (running) in the output, the server is running. If it is not, check the Troubleshooting section.

Troubleshooting
If you are facing some errors. Check the permissions of the server folder.
ls -l /home/minecraft-admin/minecraft-bedrock/bedrock_serverEnsure it's executable (-rwxr-xr-x). If not, make it executable with the following command:
chmod +x /home/minecraft-admin/minecraft-bedrock/bedrock_serverAfter that, check ownership of the server folder.
ls -ld /home/minecraft-admin/minecraft-bedrockEnsure it's owned by minecraft-admin:minecraft-admin. If not, change the ownership with the following command:
chown -R minecraft-admin:minecraft-admin /home/minecraft-admin/minecraft-bedrockSetting an user as operator
Unlike Java edition, Bedrock edition doesn't use ops.json file to manage the operators. Instead, it uses permissions.json file.
Edit the permissions.json file with the following command.
nano permissions.jsonAdd the following content to the file.
[
  {
    "xuid": "00000000-0000-0000-0000-000000000000",
    "permission": "operator"
  }
]
If you don't know the XUID of the user, you can use the username instead.
[
  {
    "permission": "operator",
    "name": "username"
  }
]
Now we have to restart the server.
systemctl restart bedrock.serviceSetting up a domain name
On your DigitalOcean dashboard, go to Networking -> Domains. Click on Create Domain. Then add your domain name. Make sure your domain name is pointing to your DigitalOcean server IP.
That's it. You have successfully set up a Minecraft Bedrock server on DigitalOcean. Access the server with the server IP and port and enjoy playing Minecraft with your friends.
